無料クラシファイドへの投稿方法
Posting advertisement on our free classifieds page
ユーザ登録が必要です!(ユーザの登録方法はこちら)
User registration is required! (To register, click here)
1.クラシファイドページから新規投稿ボタンをクリック
1. On the classified page, click the ‘new post’ button.
(有料コンテンツの場合は有料ボタンをクリック)
(If posting a premium item, click the ‘premium item’ button)

New post (Free) New post (Premium)
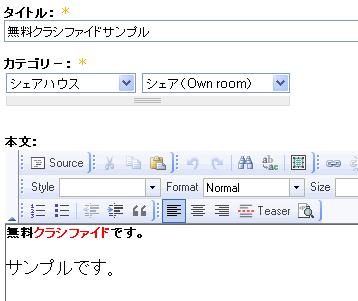
2.投稿基本情報を入力(必須)
2. Enter basic information about the item (required)
カテゴリは、大カテゴリと小カテゴリの2つを選択する必要があります。
You must also choose a category and sub category.

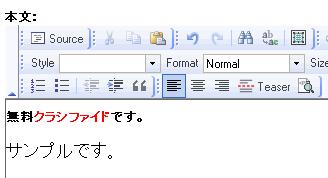
3.本文を入力
3. Entering body text
FCKeditorを利用して、HTML形式での投稿が可能です。(FCKeditorの使いかたはこちら)
Using the FCKeditor, posts can be made in HTLM form.
(Click here for instructions on how to use FCKeditor)
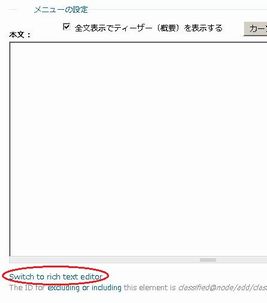
注:上図のメニューがない場合、以下の「Switch to rich text editor」をクリックすると現れます。
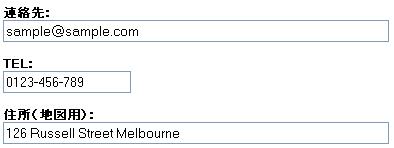
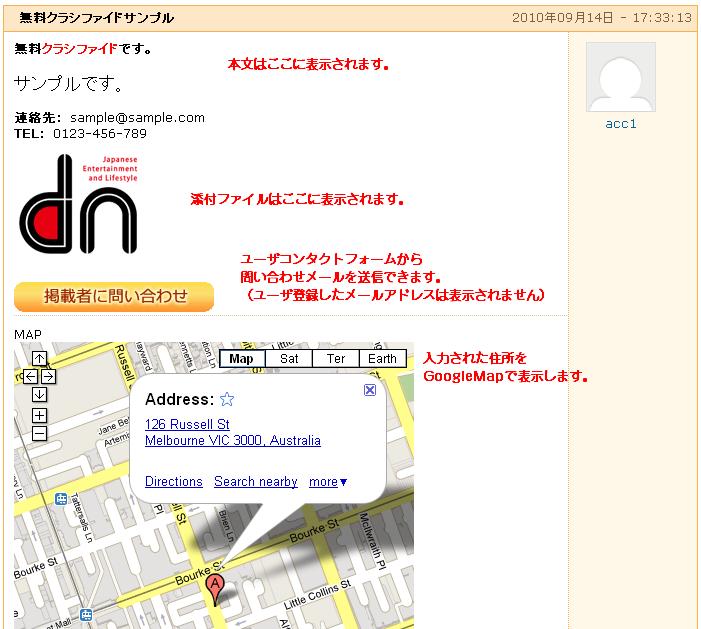
4.連絡先情報を入力
4. Entering contact information
連絡先情報は入力されなくても構いません。
住所は、GoogleMapで検索を行い、自動的に地図を表示します。
GoogleMapなどで地図が表示できない場合は、正確な地図が表示されません。
Contact information does not need to be entered.
Addresses will be searched using Google Map and automatically displayed.
If the map cannot be found on Google Maps, an accurate map will not be displayed.
5.本文に画像ファイルを添付する
5. Attaching images on your page.
5-1
下部にある ① の「Browse」ボタンをクリックし、添付したい画像を選択する
Select the image file by clicking on "Browse" button.
FCKeditorのファイル添付機能でも画像添付できます(利用方法)
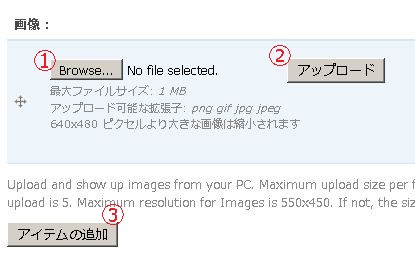
5-2 画像のアップロードの方法 How to upload and insert images.
上図②の「アップロード」ボタンをクリックして画像をアップロードします。
アップロードされると以下の様になります。
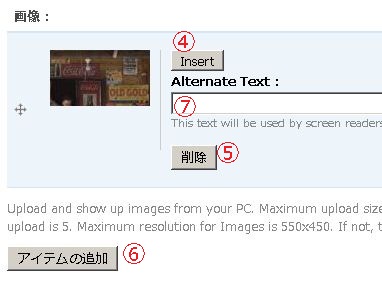
そして、下図④の「Insert」ボタンをクリックして画像を本文に挿入します。
Click on ② "アップロード" button and the image you uploaded appears like below.
Then you can insert the image by clicking on ④ 「Insert」button.
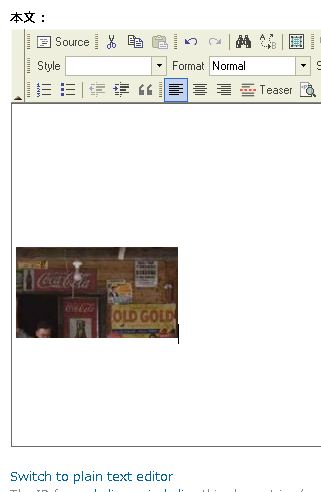
画像が本文に挿入されると以下の様になります。
You can see the below if the image was inserted successfully.
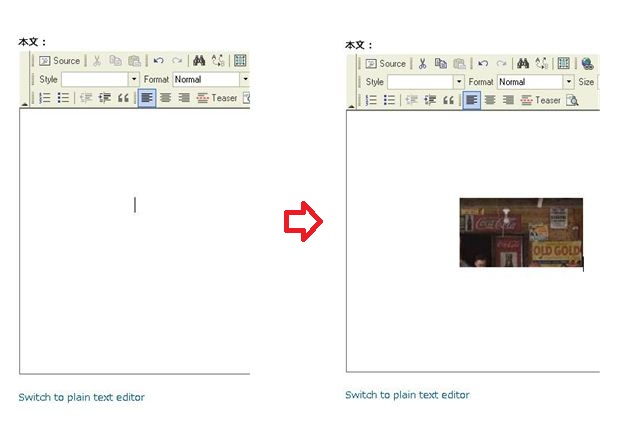
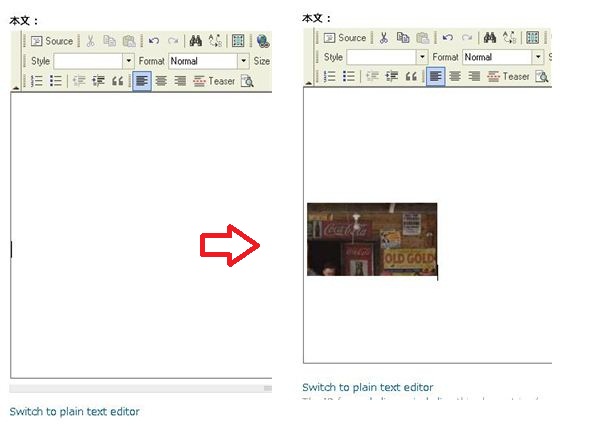
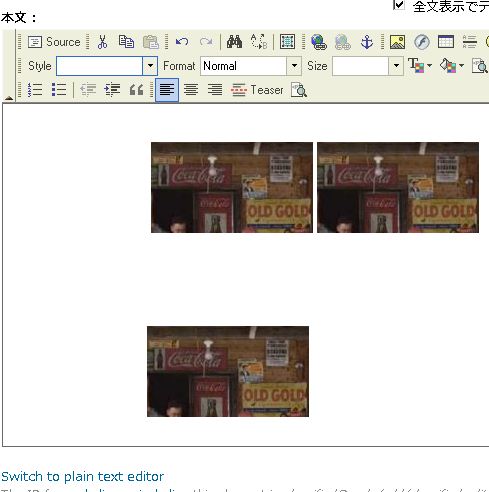
5-3 画像配置の方法 How to locate the image.
画像の位置は本文中のカーソルの位置で決まります。以下図は例です。
The location of image depends on where the cursol is. The below is an example.
5-4
画像追加の方法 How to add the images.
他に追加したい画像がある場合、5-1の③の「アイテムの追加」ボタンを
クリックして画像を選択し5-2の手順で追加します。
Click on the button ③ in "5-1" then choose the image then follow the step "5-2".
6.「保存」ボタンをクリックすると投稿されます
6. Click ‘save’ and the advertisement will be posted.
投稿前に確認したい場合は、「プレビュー」ボタンをクリックします。
投稿が完了すると、コンテンツの確認ページに遷移します。
掲載期間は投稿後1ヶ月です(投稿後1ヶ月経過すると自動的に非掲載となります)
If you want to preview your advertisement before posting, click the ‘preview’ button.
When finished posting, you will be redirected to the confirmation page.
Advertisement posting length is 1 month. (Once 1 month from posting has passed, the advertisement will automatically be removed)
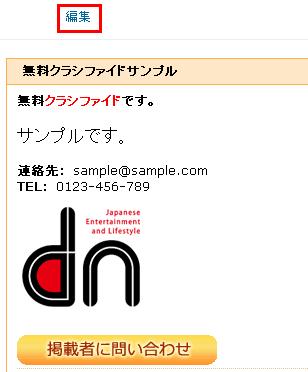
7.投稿後の編集・削除方法
7. Editing/deleting your advertisement after posting
自分が投稿したコンテンツを閲覧すると編集リンクが表示されます。
自分が作成したコンテンツは再度編集することができますが、他ユーザのコンテンツは編集できません。
When viewing your own advertisement, an edit option is available.
This option is only available for your own advertisements, not other users’.
◆編集ページに遷移するため、そこから編集を行ないます。
◆Editing can be done after moving to the editing page.
◆編集を完了する場合は「保存」ボタンをクリック
コンテンツを削除したい場合は「削除」をクリック
◆ After finishing editing, click the ‘save’ button.
If you wish to delete the advertisement, press the ‘delete’ .
![]()